Instructions
- Dice the flesh of the mango and discard the skin and seed.
- Puree using a blender, food processor, or an immersive blender then measure out 2 cups of mango puree (about 2 1/2 cups of diced-up mango).
- Pour puree into a non-stick skillet over medium-low heat.
- Allow the puree to cook, stirring constantly, for 8 - 10 minutes or until the mixture has been reduced by half. You'll know it's ready when you can drag a wooden spoon across the skillet and the path remains there for a second. You can also measure out the puree to ensure it's reduced to at least 1 cup - less is even better!
- Allow the puree to cool.
Making The Ice Cream
- Combine cooled mango puree and sweetened condensed milk in a large mixing bowl. Add food coloring if using. Whisk the mixture until combined and set aside.
- In a separate bowl using a whisk, hand mixer (or in a bowl of a stand mixer), beat cold heavy cream until stiff peaks form. You'll know you have stiff peaks when the cream holds its shape on the whisk or beater? The colder your cream is, the faster it's going to whip.
- Take a large spoonful of whipped cream and add it to the mango mixture. Fold through until mostly combined - lumps are fine.
- Use a rubber spatula and fold the mango mixture into the cream until it's lump-free. This will take a few minutes.
- Next, transfer the mixture to a loaf pan (glass or another non-reactive container) specialty ice cream container, or an old ice cream container.
- Lightly tap the loaf pan on the counter container to excess remove air bubbles and use the spatula to smooth.
- To prevent crystallization and freezer burn press a piece of cling wrap or wax paper over the surface of the ice cream, then wrap the whole pan really well with plastic wrap to prevent crystallization and freezer burn. This also protects your ice cream from absorbing other flavors from your freezer.
- Freeze until solid, about 6 hours.
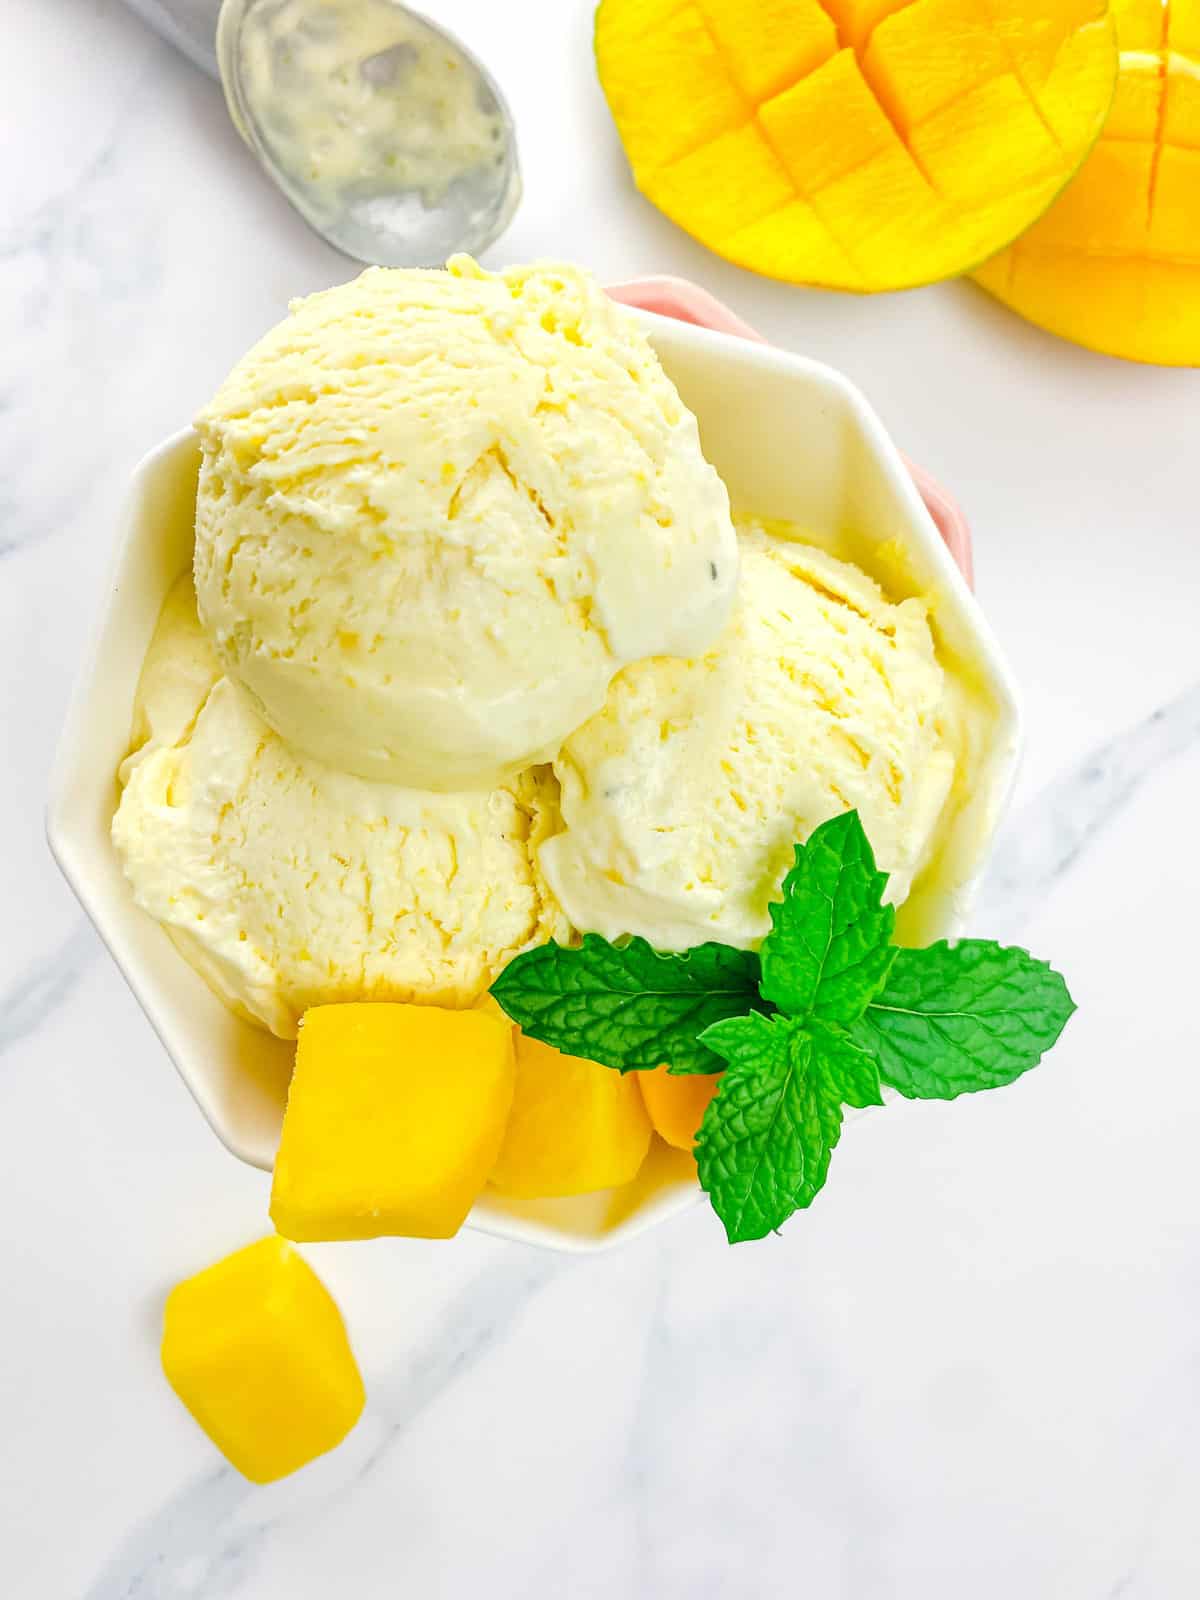
- Remove cling wrap and parchment paper. Stand for 5 minutes to soften slightly, then scoop and serve! If frozen for 24 hours or longer, it will need a couple of extra minutes to soften to a scoop-able consistency.
Keep your screen on while you cook.
I’m cookin’ with The Craven Foodie!Nutrition
Video
Notes
u003cliu003eu003cstrongu003eUse cold heavy cream or whipping cream. u003c/strongu003eKeep it refrigerated until you are ready to use it. The colder your cream is, the faster it's going to whip. You can also set the bowl on top of a bed of ice to keep the heavy cream cold as you whip.u003c/liu003eu003cliu003eIn case you overwhip the cream and it starts to get lumpy fold a tablespoon of cream at a time with a rubber spatula until it folds back out. u003c/liu003eu003cliu003eu003cstrongu003eThe best freezer temperature u003c/strongu003efor ice cream is below 0°F.u003c/liu003eu003cliu003eu003cstrongu003eTo prevent crystallization and freezer-burnu003c/strongu003e press a piece of cling wrap or wax paper over the surface of the ice cream, then wrap the whole pan really well with plastic wrap to prevent crystallization and freezer burn. This also protects your ice cream from absorbing other flavors from your freezer.u003c/liu003eu003cliu003eu003cstrongu003eIf you accidentally leave your ice cream out on the counter u003c/strongu003efor an extended period and it melts completely - do not refreeze it as is. Re-whip the whole thing then refreeze it.u003c/liu003eu003cliu003eI ALWAYS recommend reading through the recipe in full a couple of times before starting. That way you know exactly what to expect and you can prep accordingly.u003c/liu003eu003cliu003eGather all your ingredients before cooking. This way you don’t forget to add an ingredient or two. Believe me, It has happened so many times so I use “u003ca href=u0022https://www.webstaurantstore.com/blog/2886/what-is-mise-en-place.htmlu0022u003emise en placeu003c/au003e” to save my sanity and the recipe.u003c/liu003eu003cliu003eFor your convenience, you can automatically generate a grocery list using the whisk plugin located the the “Ingredient Rundown” section (scroll ↑).u003c/liu003e
